
Mezzotint
- Marco Poma
- Mar 21
- 8 min read
Updated: Mar 24
The images shown and the knowledge shared are credited to the mezzotint seminar conducted by Professor Arion Bajrami, currently an external lecturer at the Il Bisonte Foundation.
HISTORY
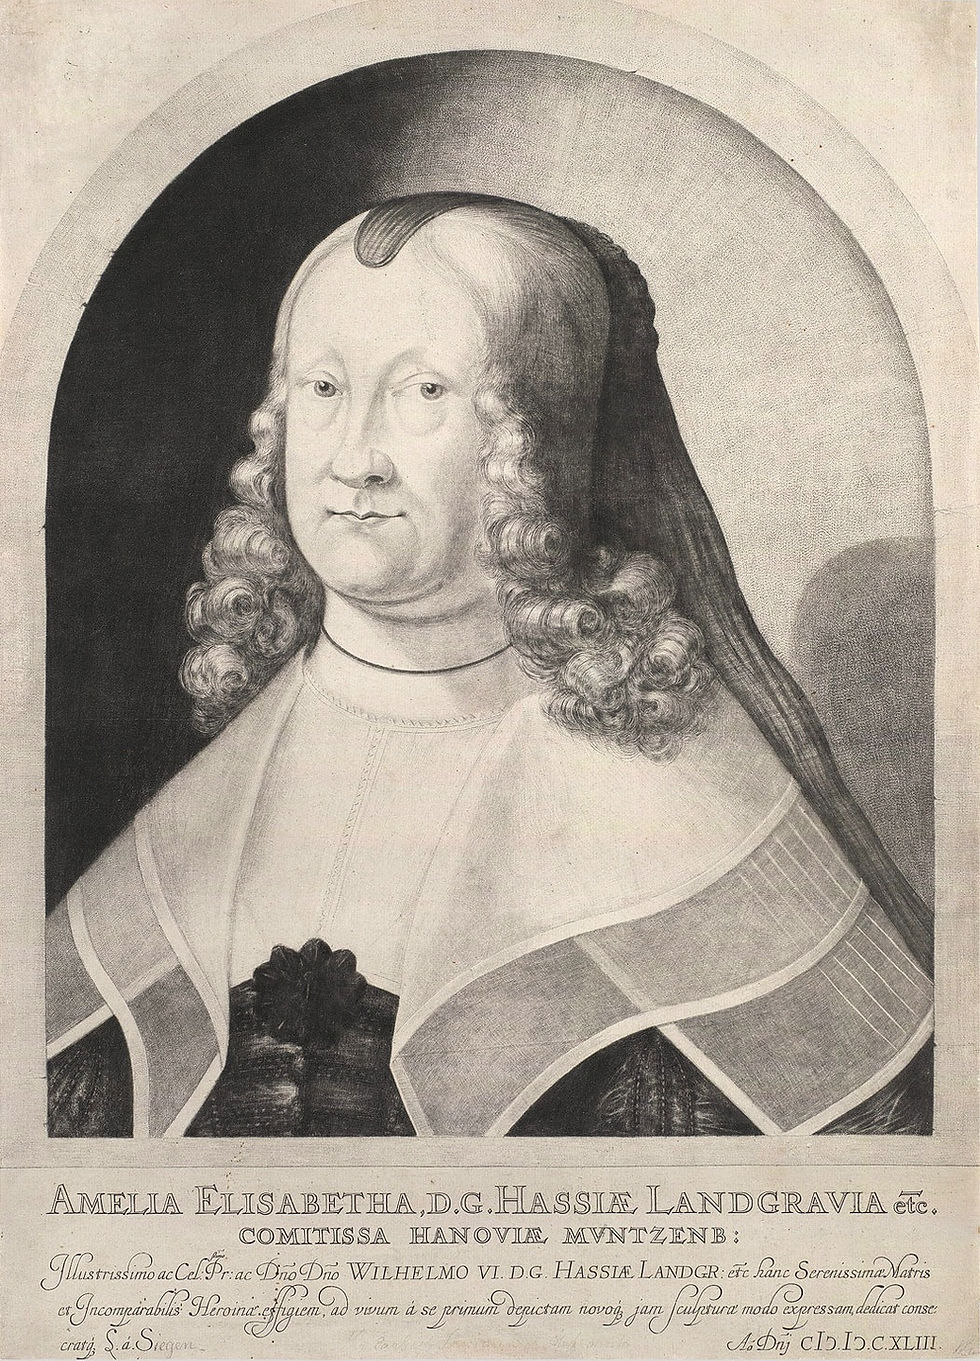
Mezzotint is a direct intaglio technique that allows for the creation of deep blacks and smooth tonal gradations up to white on the plate. Its invention dates back to the 17th century and is attributed to the German amateur engraver Ludwig von Siegen.
The technique was later perfected by the Dutch and subsequently popularized by Prince Rupert of the Rhine, who introduced it to the United Kingdom, where it was highly appreciated by the emerging bourgeoisie for its expressive qualities that closely resembled painting.
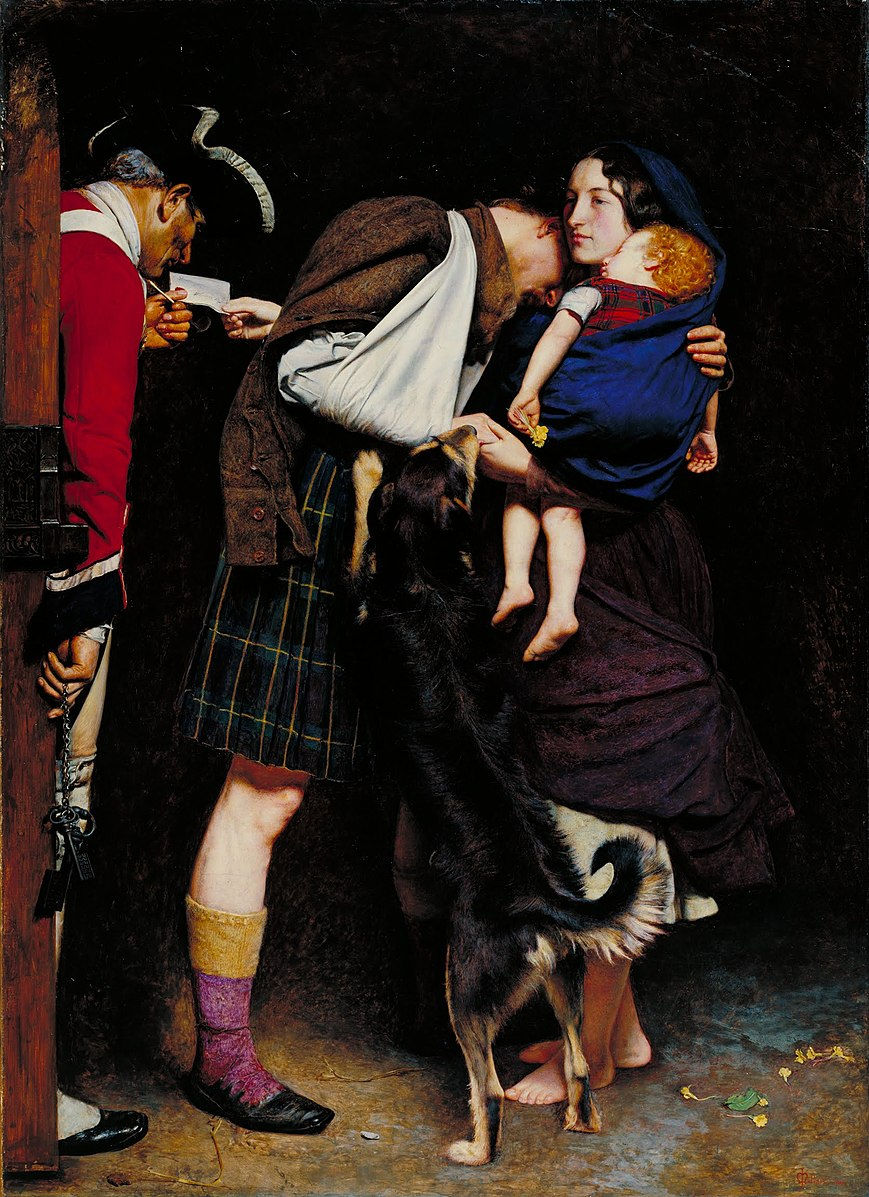
Many works created using the mezzotint technique entered important private collections, promoting the spread of this graphic technique within the contemporary artistic landscape.

With the advent of photography and lithography, the use of mezzotint experienced a decline until the early 20th century. During this period, it was revived by Japanese artists such as Yozo Hamaguchi, who immediately recognized the expressive potential of the technique, which had previously been considered more suitable for portraiture or reproducing paintings.

In the second half of the 20th century, mezzotint also began to make its way into the Italian art scene, thanks to Alberto Rocco, who, rediscovering the technique through Japanese artists, dedicated himself to mastering it. With his works, he attracted the interest of his peers and the following generations.

DESCRIPTION
Mezzotint is created by applying pressure to a plate using a toothed rocker (known as "rocker" in English, "mezzaluna" in Italian and "berceaux" in French). With a series of wavy and overlapping passes across the entire surface, the tool produces small marks characterized by the typical burrs of drypoint engraving.
These burrs are what allow the plate to capture much more ink compared to an indirectly engraved plate, resulting in intense blacks. The burrs can be gently lowered using a hard, smooth surface like a burnisher or an agate stone, or they can be removed entirely with a scraper.
The pressure applied by the tool, guided by a skilled hand, makes it possible to achieve exquisite tonal gradations, with results that can closely resemble photography.
THE ROCKER
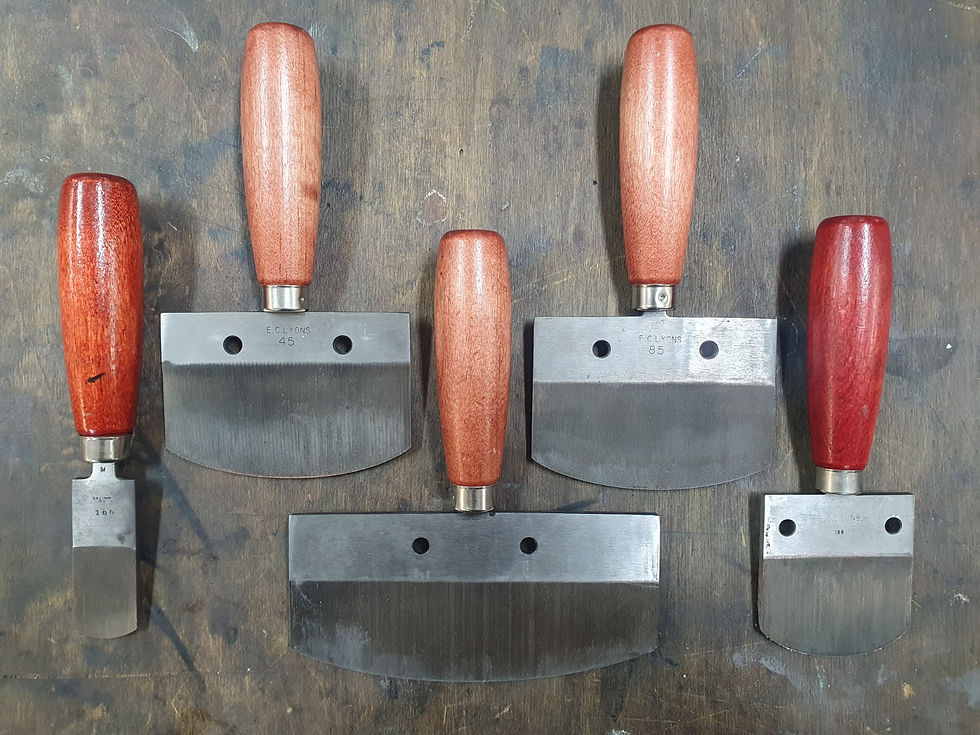
As mentioned in the previous paragraph, the so-called "rocker" is the key tool of this technique. Perfected over the course of history, today it has a toothed crescent shape. The semi-circular shape allows for a rocking motion on the plate; the back of the blade is embedded in a wooden handle for a comfortable grip.
The rocker comes in a wide range of sizes and gauges, making it suitable for any type of use, depending on the desired line texture and the size of the chosen plate.
The gauge indicates the number of lines per inch (an Anglo-Saxon measurement) on the face of the rocker: each line corresponds to a point that engraves the plate.
The higher the number of lines, the denser the granulation of the plate, and consequently, the higher the definition of the represented work. To put it simply, the direct proportionality between definition and number of "points" is similar to the pixel resolution on a screen.
These are the most commonly used gauges:

45 lines per inch: Coarse texture, useful for initial granulation but also for a flatter and less defined graphic rendering. The marks generated are deeper, resulting in greater retention of blacks during printing and in the print run.

85 lines per inch: Fine texture, it is the most commonly used as it represents an excellent middle ground among the available gauges.
100 lines per inch: Very fine texture, used for the most detailed works. It allows for the best tonal gradation of blacks but remains more delicate during cleaning in the printing phase and does not hold up well in long print runs.
The blade sizes range from the smallest (2–2.5 cm) to the largest (15 cm). Clearly, very small rockers are mostly used for touch-ups or technical additions. Larger rockers are more suitable for granulation, depending on the size of the plate.
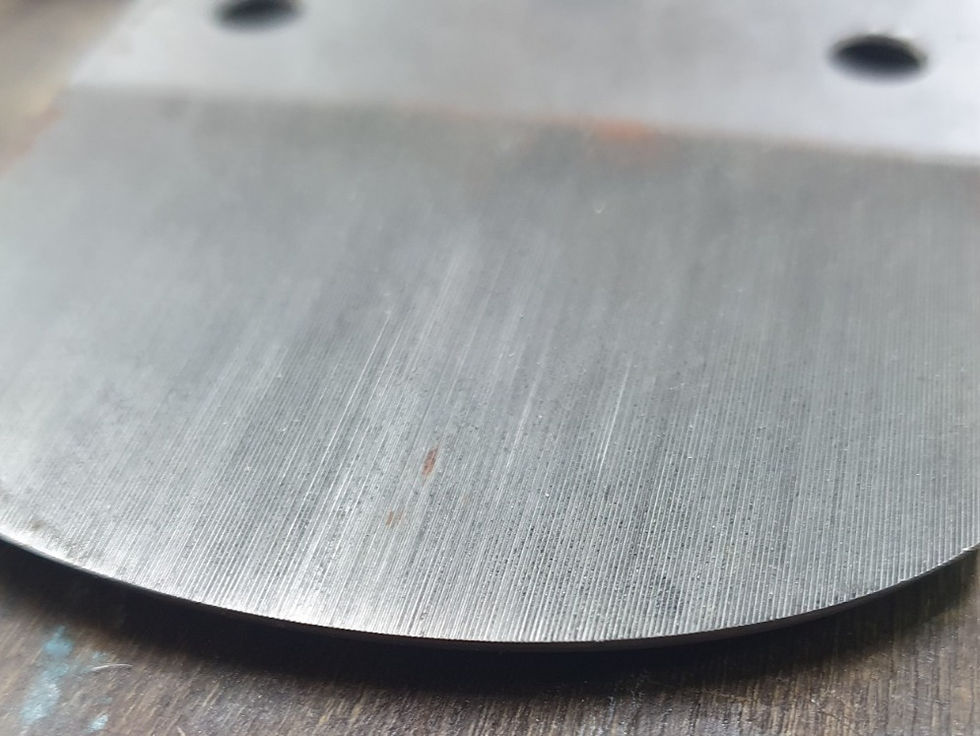
SHARPENING
- Norton/Inda round stone
- Protractor
- Wooden dowel for sharpening
- Black marker
- Mineral oil
- Metal brush
- Arkansas stone
Like any blade, the rocker blade also needs to be sharpened periodically. A good sharpening ensures precise engraving and a pronounced burr during granulation, resulting in an intense black in the printing phase.
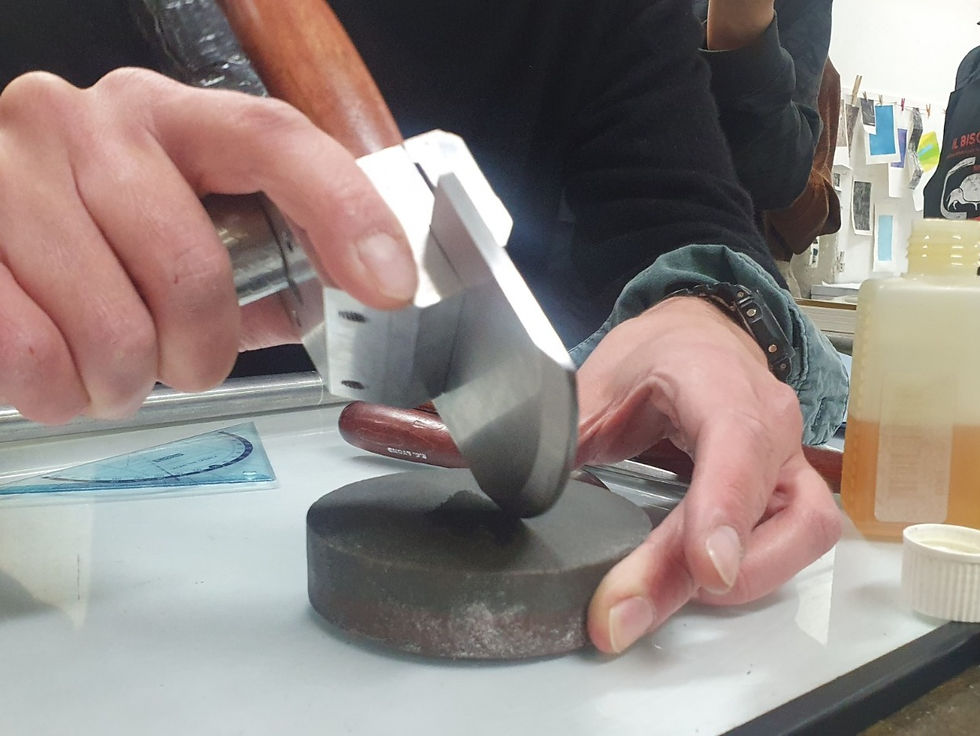
Since the rocker blade is curved, it must be sharpened by rocking it back and forth on a medium-grit stone followed by a fine-grit stone. The recommended stone is a Norton or India round stone with a diameter of 10 cm, which provides enough surface area for blades of all sizes.
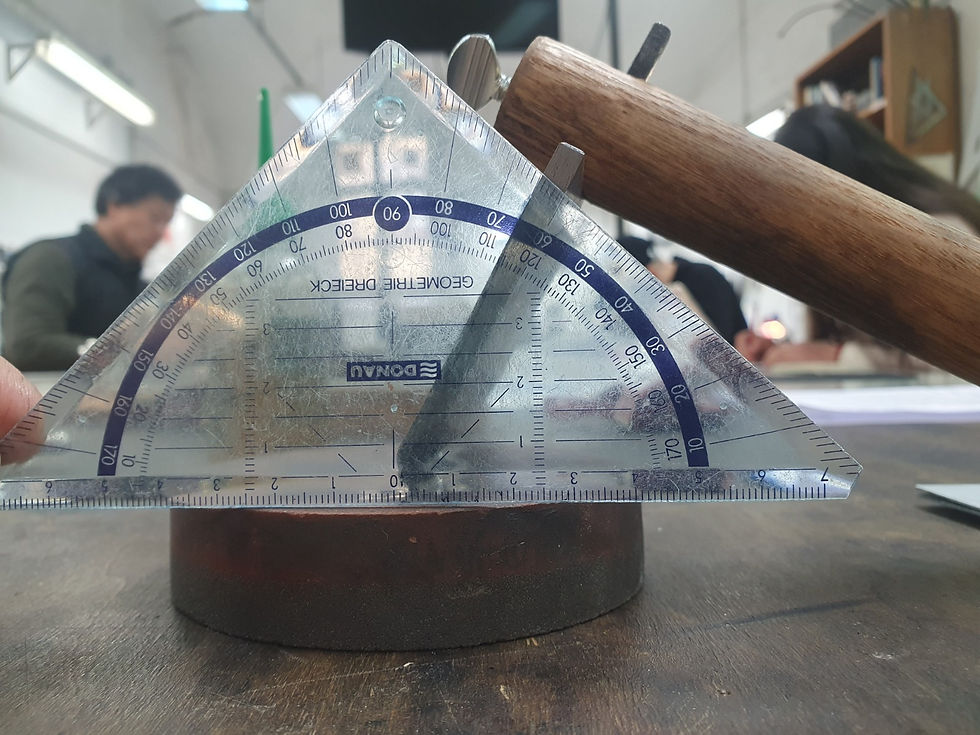
The inclination should ideally be maintained at 65°. To keep it at this angle, use a protractor to measure the angle and a wooden dowel with a cavity for the blade handle (as the rocker blade is usually detachable from the wooden handle).
The recommended length for the wooden dowel is 20 cm, which already provides a good inclination.
Adjustments can be made by adding spacers to the resting surface of the dowel to fine-tune the angle.
To check the correct sharpening of a rocker, you can mark the blade face to be sharpened with a black marker. If the sharpening is done properly, the black mark will disappear uniformly. Another way to check is by testing the blade on your fingernail.
To facilitate sharpening on the stone, use mineral oil, which is preferable because it is not overly greasy and helps prevent the stone’s pores from becoming clogged over long-term use.
To avoid wear, it is recommended to clean the stone with a metal brush, removing sharpening residues from the pores.
Once the blade has been roughly sharpened, move on to a finer-grit stone, such as an Arkansas stone, to complete the process.
PLATE

The plate typically used is copper, as it is a harder material that enhances the longevity of blacks during print runs. Additionally, its ductility allows for the creation of higher-quality burrs, which are both finer and equally durable. These characteristics make copper the most suitable material for mezzotint.
Since mezzotint is a direct technique, it is not necessary to degrease the plate, nor is it required to polish it, as the granulation process will render the surface of the plate completely black in print.
GRANULATION
- Rocker
- Rubber mat
- Rocker arm (optional)
- Metal weight (optional)
- Linen counter (loupe)

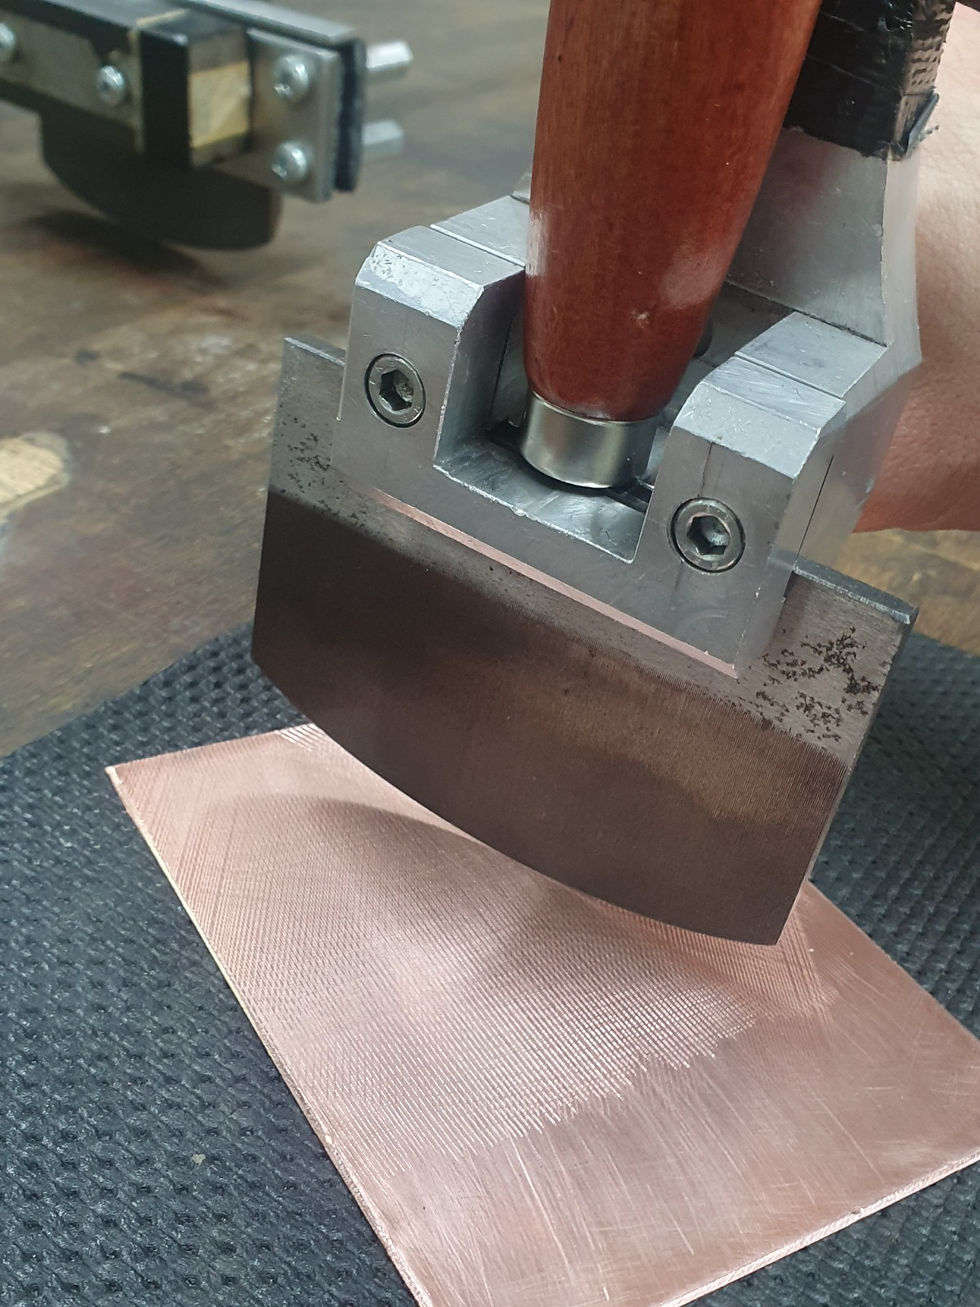
The granulation of the plate consists of creating a uniformly engraved halftone surface.
This phase is undoubtedly the most demanding and exhausting, as it requires a lot of time with a constant and repetitive rhythm. The rocker should be held with the face containing the lines oriented in the direction you wish to proceed. Start by rocking the tool from one end of the plate, ensuring that the rocking motion covers as much of the surface as the blade allows, moving linearly towards the opposite end.
Proceed in the same direction over the entire surface of the plate; once you reach the end, start again on the adjacent side already granulated, maintaining the same direction. After covering the entire surface, repeat the process by changing direction.
It is recommended to use a rubber mat to keep the plate stable, preventing slipping or movement disturbances during granulation.
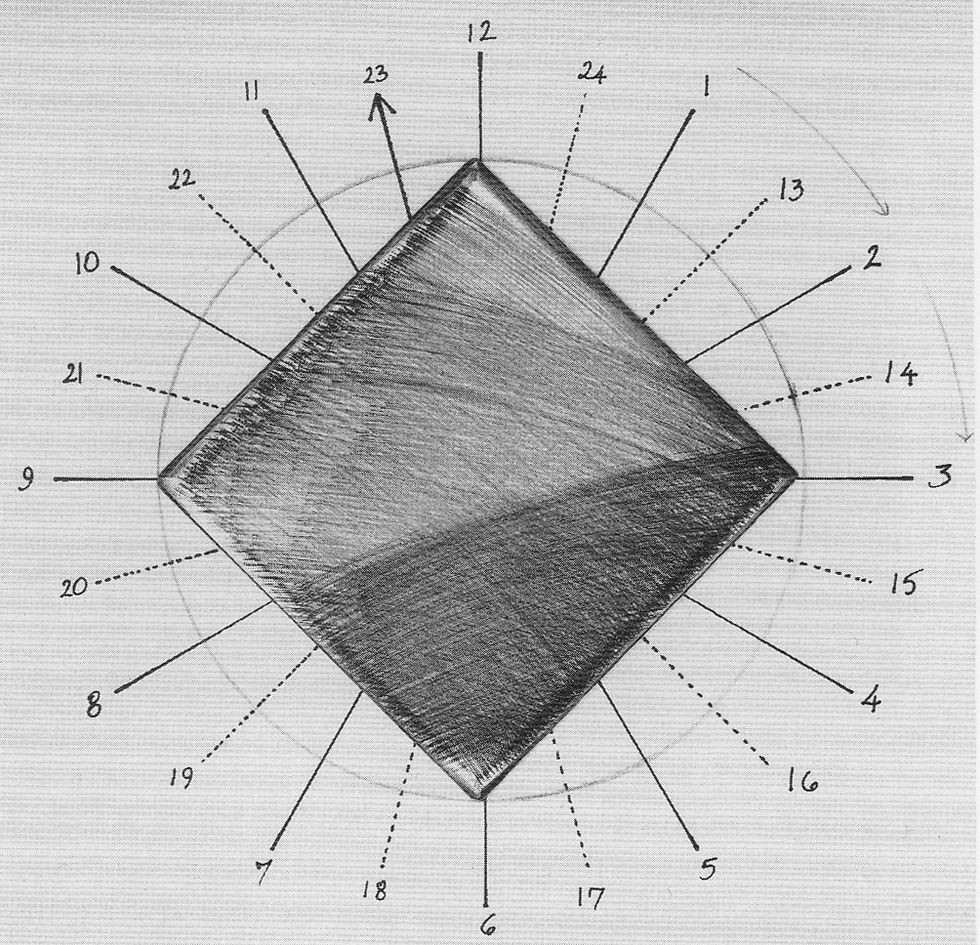
The directions for granulation vary from one school to another; in this seminar, a 15° change of direction is suggested, corresponding to 24 rocker passes over the plate.
It is important to note that 24 passes create a denser burr network, resulting in better retention of the black in printing. Reducing the number of passes to 12 results in a lighter black that is easier to burnish or scrape, but it also reduces the print durability.
Once these steps are completed, the granulated plate should appear black in print.

Since, as mentioned earlier, granulation is a strenuous task, manual granulation is not always the most suitable method. To facilitate the process, metal arms have been designed and built to connect to the rocker, making it easier to use while maintaining high directional precision on the plate. Adding a metal weight on the blade helps reduce the effort required to apply pressure with the hand.
The metal arm consists of an insert to hold the rocker, connected to a long iron tube that rests on a wooden base. This base is raised just enough to maintain a slight inclination of the rocker, allowing for smooth advancement over the plate.
A good granulation can be felt by touch with the finger and examined with a linen counter (loupe) to check if any areas remain unmarked by the rocker. In any case, before moving on to the next phase, it is advisable to perform a test print to ensure that the black is optimal.

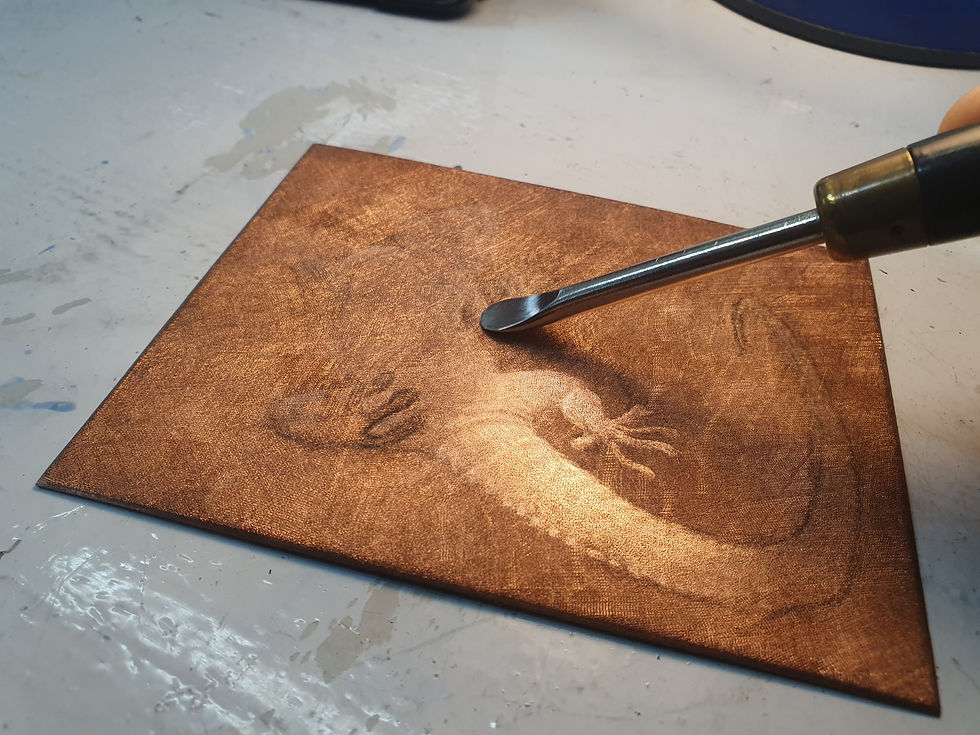
BURNISHING/SCRAPING
- Scraper
- Burnisher
- Agate stone
- Desk lamp
- Oil
- Emery paper

The most delicate phase of the process consists of lowering the burrs generated by the rocker granulation. This action allows for lightening the black tones gently, up to achieving pure white if desired. The recommended tools are the scraper, burnisher, agate stone, and sandpaper.
For optimal burnishing, it is advisable to have tools of various sizes, each suited to the level of precision required and the size of the surface to be covered.
To achieve pure white, the scraper is essential, as it is the only tool capable of removing the burrs and leaving a smooth surface. Afterward, it is useful to apply the burnisher or agate stone to soften the contrast between black and white.


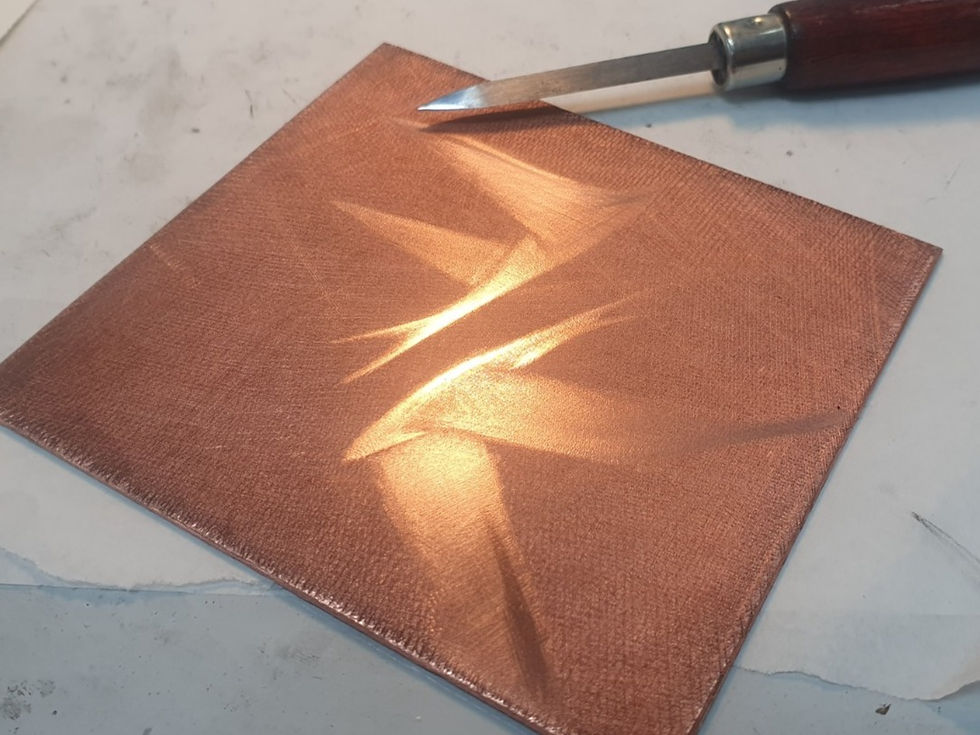
When burnishing the plate, it is important to calibrate the pressure applied with the tool, proceeding slowly and gradually increasing or decreasing the pressure. A directional light, such as a desk lamp, is essential for observing the reflection of the worked burrs.
To better diffuse the light and avoid annoying reflections, it is helpful to place tissue paper over the lamp.

It is recommended to use a thin layer of oil on the chosen burnishing tool to facilitate smooth movement over the burrs.
For larger areas, emery paper can be used. However, to avoid leaving unwanted marks, it is important to have various grits available, starting with coarser grits (indicated by a lower number) and moving up to finer grits, such as grit number 5000.
PRINTING
- Dabber
- Tarlatan
- Linseed oil
- Magnesium


To print using the mezzotint technique, the inking is done with a dabber, avoiding the use of a spatula, as it could scratch the plate. An abundant amount of ink is applied to ensure it penetrates into every burr.
Working on a heated plate makes the application and cleaning of the ink easier. The ink can be "cut" with a bit of boiled linseed oil, making it more oily, and thickened with magnesium powder.
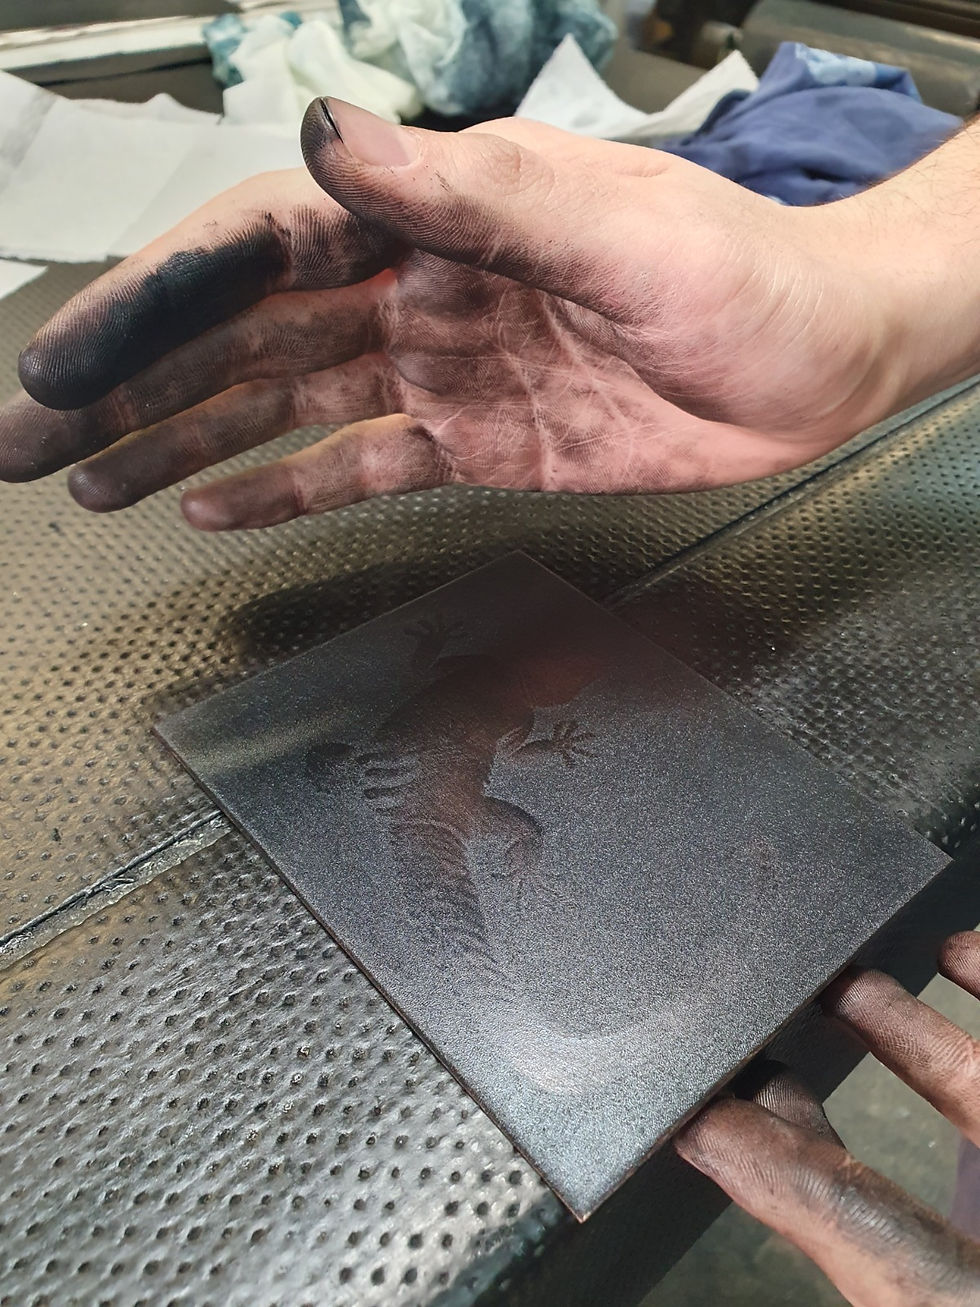
For cleaning, use exclusively tarlatan or the palm of the hand: using paper would remove too much ink and flatten the burr marks during printing. The palm is particularly recommended, as the softness of the hand helps move the ink within the burrs without excessively removing it. In this case, it is important to degrease the hand well with talcum powder or magnesium to avoid taking off too much ink.
When printing, it is essential to apply high pressure to the press, and it is advisable to use at least two felts of different thicknesses (with the thinner one in contact with the paper).

BIBLIOGRAPHY
- Incisione calcografica e stampa originale d'arte - Renato Bruscaglla
CONTEMPORARY MEZZOTINT ARTISTS


Comentários